Friday, October 8, 2010

Baby Jars Part 2

So I was trying to think of a way to decorate the lid to the baby jars for the party favors that I talked about in my last entry. I know a lot of people have gotten labels to stick to the top. But then I remembered that the Cricut has a "center point" function on it. You just position the blade to the center of your image, select the center point function, and cut whatever shape you want. In my case, I wanted a circle.

I printed out several dinosaur images and gave it a whack. I tried cutting circles at several different sizes and even tried using the shadow feature to get a circle between two sizes. Then I realized that I could could change the size adjustment increment on the Cricut. I hit the settings button and pressed OK until I got to the size increment screen. I tried a couple different settings but finally set my machine for millimeters (mm).

Long story short, if you want to have cute DIY labels for your baby food jars here are the steps you want to take. (I used the plantin schoolbook cartridge for my circle, but any cartridge with a circle will work)

Print your image/design on your paper


Change the settings on your machine to allow for millimeter (mm) increments

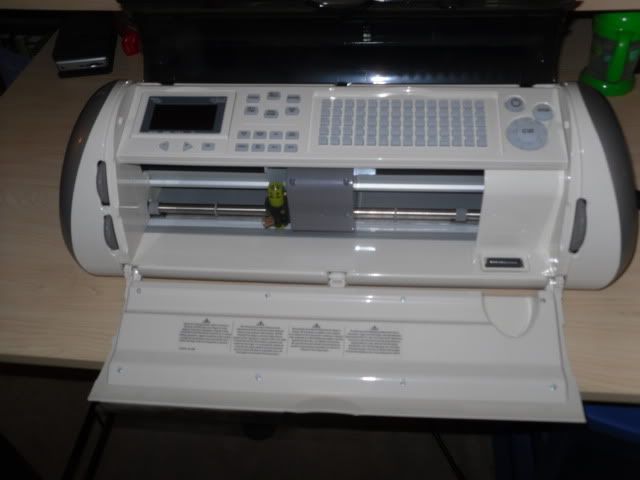
Place your print out on your mat and load into the Cricut

Position the blade as close to the center of your image as possible

Press Center Point button

Set your size to 49mm

Cut your image
(I used the "kiss" cut settings so it would just barely cut through the paper since I was using printer paper: blade depth = 6, speed = min, pressure = low. When cutting card stock I increased the pressure to med)


Use a Zig glue pen (or something similar) and put glue around the edges and in the center of the lid


Place your image on top and press down to secure in place


This was just a practice run with a sample image for me. But I like how it turned out. I used normal printer paper for this test run. I might try printing and cutting white card stock for my actual favor jars. I haven't decided yet. Now I have to finish designing the "label" I want for the actual party favors. Once they are done, I will glue coordinating 1/4" ribbon around the side of the lid. And then my lid will be complete! Not bad for favors that I have spend $0 on. We make our own baby food, so I had a friend donate their old jars.

I will post pictures of the final product. This cricut is seriously making planning my son's birthday party a breeze. I don't know what I would have done for these projects without it.

Answers to Questions from my Last Entry
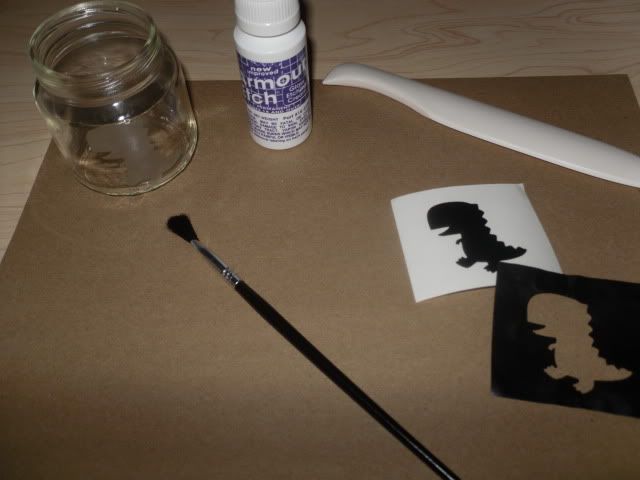
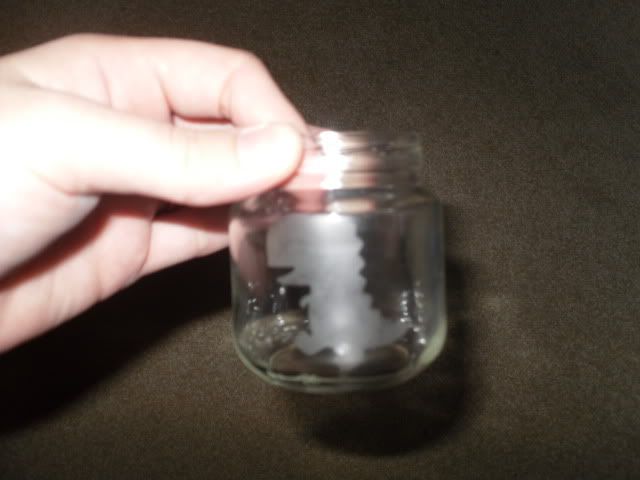
So a few people asked where to put the etching cream. I took the piece of vinyl that had the hole where the dino shape is and placed it on my jar. Then I "painted" the stencil opening where the dino shape was with the etching cream. Does that make sense? I will post pictures of the actual process the next time I do it.

Tuesday, October 5, 2010

Glass Etching! (Baby Jars Part 1)

I was able to do a project tonight. Granted, it's not finished, but I accomplished as much as I was hoping. I attempted to glass etch a dinosaur onto a baby food jar. My intent is to have a dinosaur on one side and the words "Thank You" on the opposite side. Then I'm going to fill it with candy or something and decorate the lid and use as a party favor for the wee one's birthday party.


Supplies I used:
- Cricut
- Create A Critter cartridge (not pictured)
- Armour Etch
- Paint brush
- Vinyl
- Glass cleaner (not pictured)
- Bone folder
- Baby food jar
*Note: You should wear gloves for this project. I didn't because I didn't have any.

I put the vinyl on the cricut mat and loaded it up. I set the cricut to blade depth to 6 (with the normal blade), speed to low, and pressure to low. These settings do a "kiss" cut that cuts through the vinyl but not through the backing. I set the size of my image to 1.5 inches to fit the baby jar. (I cut shapes out of paper before cutting my vinyl to help me decide what size would be best.)

Then I cleaned my fingerprints off the jar. I peeled the vinyl off the backing and applied it to the jar. (You want to use the vinyl that looks like a stencil with the shape cut out of it). Then I smoothed out any air bubbles using a bone folder. You can use a popsicle stick if you don't have a bone folder. You can reposition the vinyl if you mess up. It's sticky enough to stay in place, but not sticky enough to be a hassle to work with.

Once I was satisfied with how the vinyl was positioned I generously applied the etching cream to cut out area of the vinyl stencil. I let it sit for 8-10 minutes and then rinsed thoroughly with warm water with the vinyl still on the jar. Then I pat dry with a wash cloth and removed the vinyl.

Next time, I'll probably leave the cream on there a little while longer, but I'm pleased with how it turned out. It's a very quick and super simple project.

Project so far:


EDIT: I realize now that some of this might be confusing to people who have never glass etched before or have never seen it done. I will post more pictures later.

Monday, October 4, 2010

Grasshopper!

Funny story. I was telling my mother-in-law how I saw a green cricut (Walmart carries them) and she said "don't you mean grasshopper?" It was pretty funny.

I finally got my own Cricut. It came in the mail today. I knew that it was coming with 2 cartridges, a spatula, a scrapper, and a mat. What I didn't know was that they also threw in vinyl and glass etching cream. How awesome is that!

Yes, I know I have been downright HORRIBLE at updating this. I have had to squeeze my craft time in whenever I can around work and taking care of the wee one. It's even harder to find time to update here, but I promise I will try to do better.

I've done a bunch of little small projects since my last entry. I will try to post pictures of each of them soon.
1. sewed infant cloth loafers
2. sewed a shopping cart cover with matching pillow and carrying bag
3. sewed seat belt strap covers
4. crafted magnets
5. dry erase message frame
6. several cards and envelopes
7. decoupaged composition book
8. decoupaged clip board
9. cut out foam letters for bath time

Upcoming projects:
glass etching
sew a walking belt for the wee one
fabric covered magnetic board
birthday invitations
candle wrappers