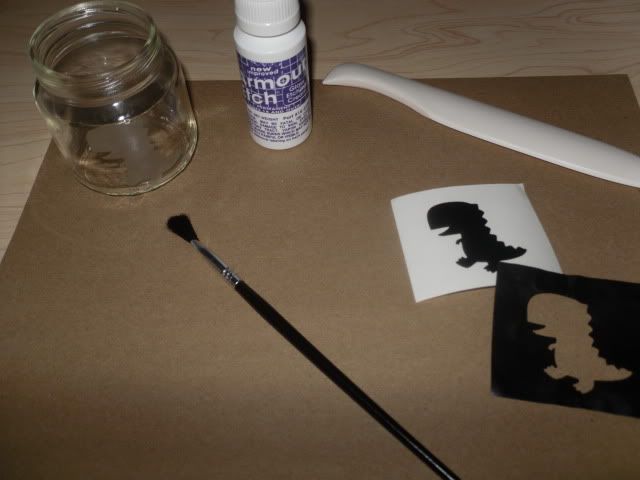
  | Supplies I used: - Cricut - Create A Critter cartridge (not pictured) - Armour Etch - Paint brush - Vinyl - Glass cleaner (not pictured) - Bone folder - Baby food jar *Note: You should wear gloves for this project. I didn't because I didn't have any. |
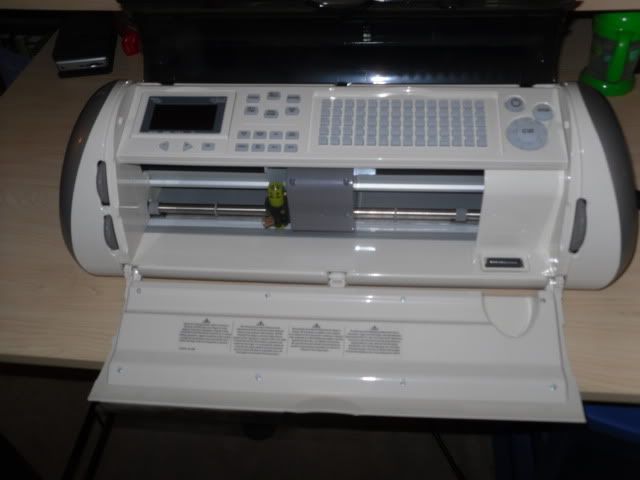
I put the vinyl on the cricut mat and loaded it up. I set the cricut to blade depth to 6 (with the normal blade), speed to low, and pressure to low. These settings do a "kiss" cut that cuts through the vinyl but not through the backing. I set the size of my image to 1.5 inches to fit the baby jar. (I cut shapes out of paper before cutting my vinyl to help me decide what size would be best.)
Then I cleaned my fingerprints off the jar. I peeled the vinyl off the backing and applied it to the jar. (You want to use the vinyl that looks like a stencil with the shape cut out of it). Then I smoothed out any air bubbles using a bone folder. You can use a popsicle stick if you don't have a bone folder. You can reposition the vinyl if you mess up. It's sticky enough to stay in place, but not sticky enough to be a hassle to work with.
Once I was satisfied with how the vinyl was positioned I generously applied the etching cream to cut out area of the vinyl stencil. I let it sit for 8-10 minutes and then rinsed thoroughly with warm water with the vinyl still on the jar. Then I pat dry with a wash cloth and removed the vinyl.
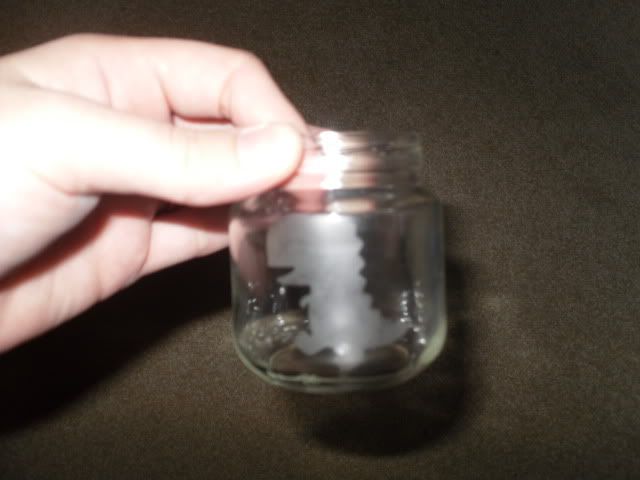
Next time, I'll probably leave the cream on there a little while longer, but I'm pleased with how it turned out. It's a very quick and super simple project.
Project so far:
EDIT: I realize now that some of this might be confusing to people who have never glass etched before or have never seen it done. I will post more pictures later.
Love it Lori! So does the etching cream go on the vinyl, or on the glass? I guess I'm not clear on that part. It looks like the effect is where the dinosaur shape was, so I was wondering how the cream came in contact with the glass. This might be a really stupid question, I know. ;)
ReplyDeleteI have the same question as Christina... how does this work?! LOL. It looks amazing, and pretty simple! I can't wait to see the finished product--way to repurpose!
ReplyDeleteHow cute!!
ReplyDeleteSo cute! I LOVE the little dinosaur!!
ReplyDeleteOkay, that is SO cool!
ReplyDelete